Tape measure markings explained
Tape measure markings explained: inch fractions, foot markers, red numbers every 16 inches, black diamonds at 19.2 inches, the sliding hook and case length.
October 9, 2026
Tape measure markings show inches divided into sixteenths, with longer lines for 1/2, 1/4 and 1/8. On top of that, most US tapes add foot markers every 12 inches, red highlights every 16 inches for stud spacing, and small black diamonds every 19.2 inches for joist and truss layout. The sliding hook and the case length printed on the back help you take inside and outside measurements accurately.
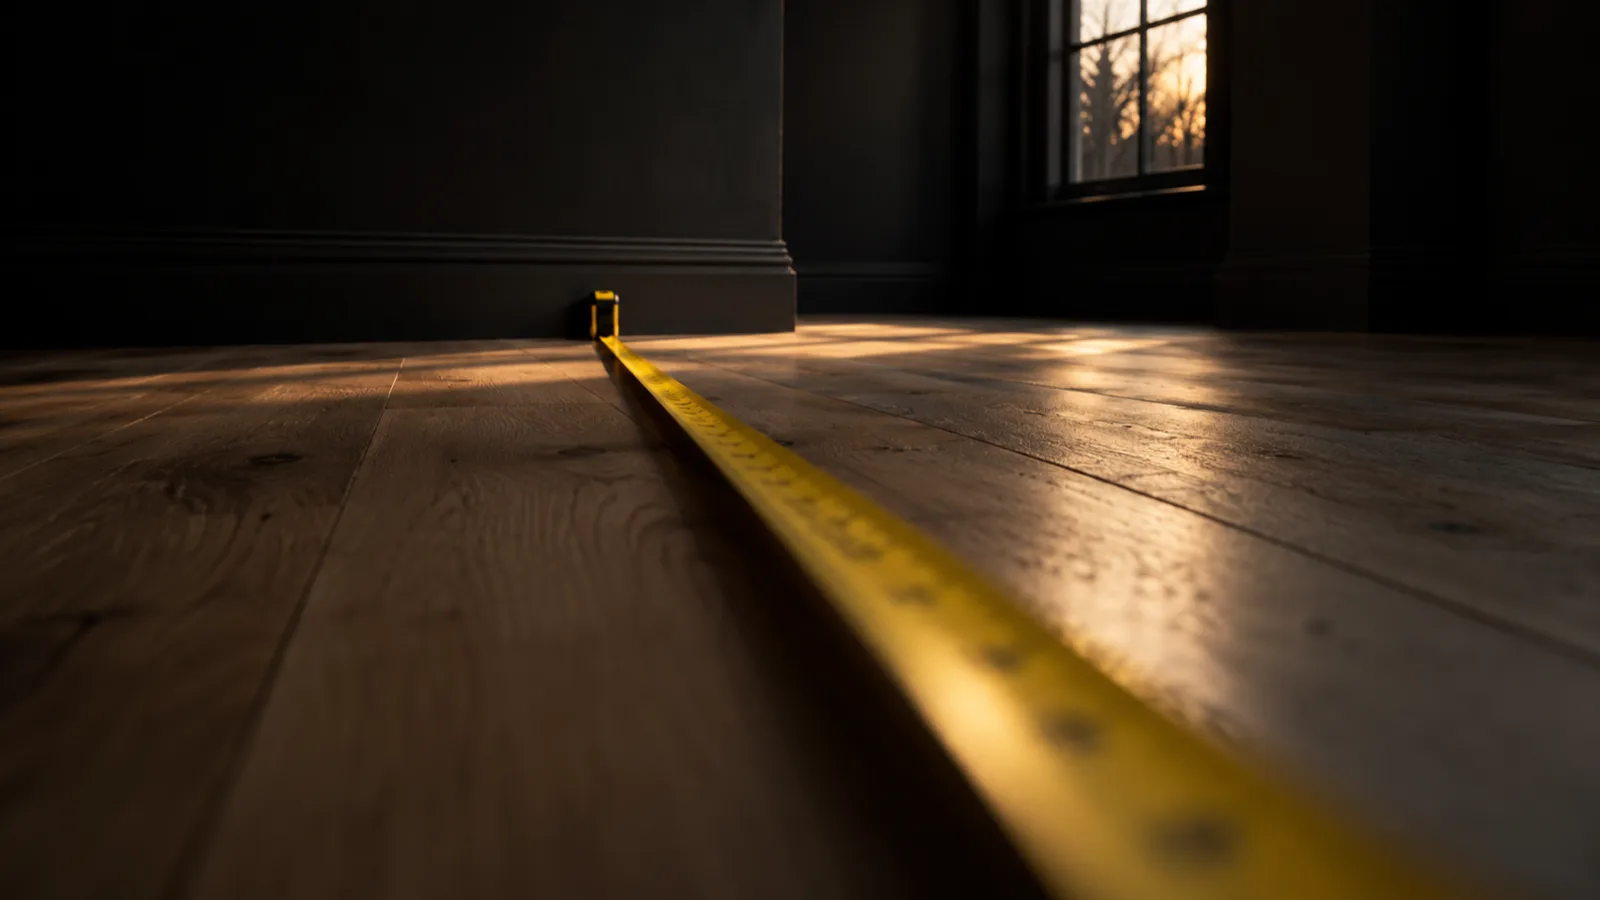
The tape above marks every 1/16 inch and highlights 16 inches with a red box, the same way most framing tapes do.
Inch lines and fractions
Every inch on a standard US tape has 16 small divisions. The length of each line tells you its value.
| Line length | Marks | Sixteenths |
|---|---|---|
| Longest, numbered | Whole inch | 16/16 |
| Next longest | 1/2 inch | 8/16 |
| Medium | 1/4 and 3/4 | 4/16 and 12/16 |
| Short | 1/8, 3/8, 5/8, 7/8 | 2, 6, 10, 14 sixteenths |
| Shortest | Odd sixteenths (1/16, 3/16, 5/16…) | 1, 3, 5, 7, 9, 11, 13, 15 |
Some tapes split the first few inches into 1/32 for fine work. The rest of the blade stays at 1/16. If you are new to reading the fractions, start with how to read a tape measure, which covers counting sixteenths and reducing them.
Finding 3/8, 5/8 and 5/16 on a tape measure
These three come up all the time in plans and hardware sizes, and they sit on short lines that are easy to misread.
- 3/8 inch is 6 sixteenths. Find the 1/4 mark (the medium line) and move toward the 1/2. Skip the tiny 5/16 line, and the next short line is 3/8.
- 5/8 inch is 10 sixteenths. Find the 1/2 mark (the long line) and move toward the 3/4. Skip the tiny 9/16 line, and the next short line is 5/8.
- 5/16 inch is the shortest line between 1/4 and 3/8. Count five of the smallest steps from the inch line, or one step past the 1/4.
In millimeters, 3/8 inch is 9.53 mm, 5/8 inch is 15.88 mm and 5/16 inch is 7.94 mm.
Foot markers
Inch numbers on most tapes keep running past 12 (13, 14, 15 and onward) instead of starting over. To show where each foot falls, tapes add a foot marker every 12 inches. Common styles are a black or red box, a label such as 1F, 2F, 3F, or a foot symbol such as 1’. Some brands also print a small feet-and-inches label under each inch number, so 30 shows as 2’ 6”. Some tapes highlight every 3 feet as well, for yards.
Conventions vary by brand, so check your own tape. If it has no feet labels, divide the inch number by 12. A reading of 75 inches is 6 feet 3 inches.
Red numbers on a tape measure (every 16 inches)
Most US tapes highlight 16, 32, 48, 64, 80 and 96 inches in red. Some print the number itself in red, and others put a black number inside a red box. These marks are for laying out wall studs at 16 inches on center (o.c.), the most common stud spacing in US wood framing.
The spacing works because standard sheet goods are 4 by 8 feet. Both 48 and 96 inches divide evenly by 16, so when studs or joists sit every 16 inches on center, the edges of plywood, OSB and drywall sheets land on the middle of a framing member. To lay out a wall, hook the tape on the end of the plate and make a mark at each red number.
On metric tapes, red is used differently. It often marks each 10 cm or each meter, and the exact pattern depends on the manufacturer.
Black diamonds on a tape measure (19.2 inches)
The small black diamonds, sometimes called truss marks, sit every 19.2 inches. On a tape divided into sixteenths, the first one falls just past 19 3/16 inches.
The number comes from dividing an 8-foot sheet into five equal bays. Ninety-six inches divided by 5 is 19.2 inches, so there are five spaces, and the fifth diamond lands at 96 inches. Builders use 19.2-inch spacing for engineered floor joists and roof trusses. It needs fewer members than 16-inch spacing, and the ends of an 8-foot sheet still land on a joist or truss. Whether 19.2 inches is allowed for a given floor or roof depends on the joist or truss maker’s specs and the sheathing’s span rating.
| Mark | Exact position | Nearest 1/16 on the tape |
|---|---|---|
| 1st diamond | 19.2 in | 19 3/16 in |
| 2nd diamond | 38.4 in | 38 3/8 in |
| 3rd diamond | 57.6 in | 57 5/8 in |
| 4th diamond | 76.8 in | 76 13/16 in |
| 5th diamond | 96 in | 96 in (8 ft) |
Not every tape has the diamonds. They are common on framing tapes from US brands, while some general-purpose and metric tapes leave them off.
The sliding hook and true zero
The metal hook at the end of the blade is loose on purpose. It slides back and forth by the thickness of the hook itself, which on many tapes is about 1/16 inch.
- Outside measurement. When you hook it over the end of a board and pull, the hook slides out. The inside face of the hook sits at zero.
- Inside measurement. When you push it against a wall or the inside of a frame, the hook slides in. The outside face of the hook sits at zero.
Either way the reading starts from the true zero point, so you never add or subtract the hook thickness. This only works if the hook and its rivets are in good shape. Letting the blade slam back into the case can bend the hook or wear the rivet holes, and then every reading is off by a small amount. To check, measure the same short piece both ways and compare the readings.
Case length on the back
For an inside measurement, such as the width of a window opening or the space between two walls, the blade cannot bend into the far corner. Instead, put the back of the case against one side, run the hook to the other side, and add the length of the case to the reading.
Most tapes print the case length on the back or side of the housing, for example 3 inches or 3 3/8 inches. If your reading is 15 inches and the case is 3 3/8 inches, the opening is 18 3/8 inches. Some tapes have a second scale that already includes the case, and a few square-bodied tapes are designed so the case adds a round number. If nothing is printed, measure the case once and write it on the housing. The window measuring guide uses this method for inside-mount blinds.
Other markings you may see
- Metric scale. A centimeter and millimeter scale along the bottom edge. See how to read a ruler for reading millimeters.
- Printed fractions. Some tapes print 1/8, 1/4 and similar labels right on the blade so you do not have to count.
- Back-of-blade markings. A few tapes print on both sides of the blade, which helps when you read it upside down or from below.
For framing work, check the studs for plumb as you go. The free bubble level app works in vertical mode when you hold the phone against the stud. Once the walls are up, the square footage guide helps you work out flooring and drywall quantities.