How to use the iPhone Measure app
How to use the Measure app on iPhone: measure distances, rectangles and a person's height, use Ruler view and the level, change units, and check accuracy.
October 9, 2026
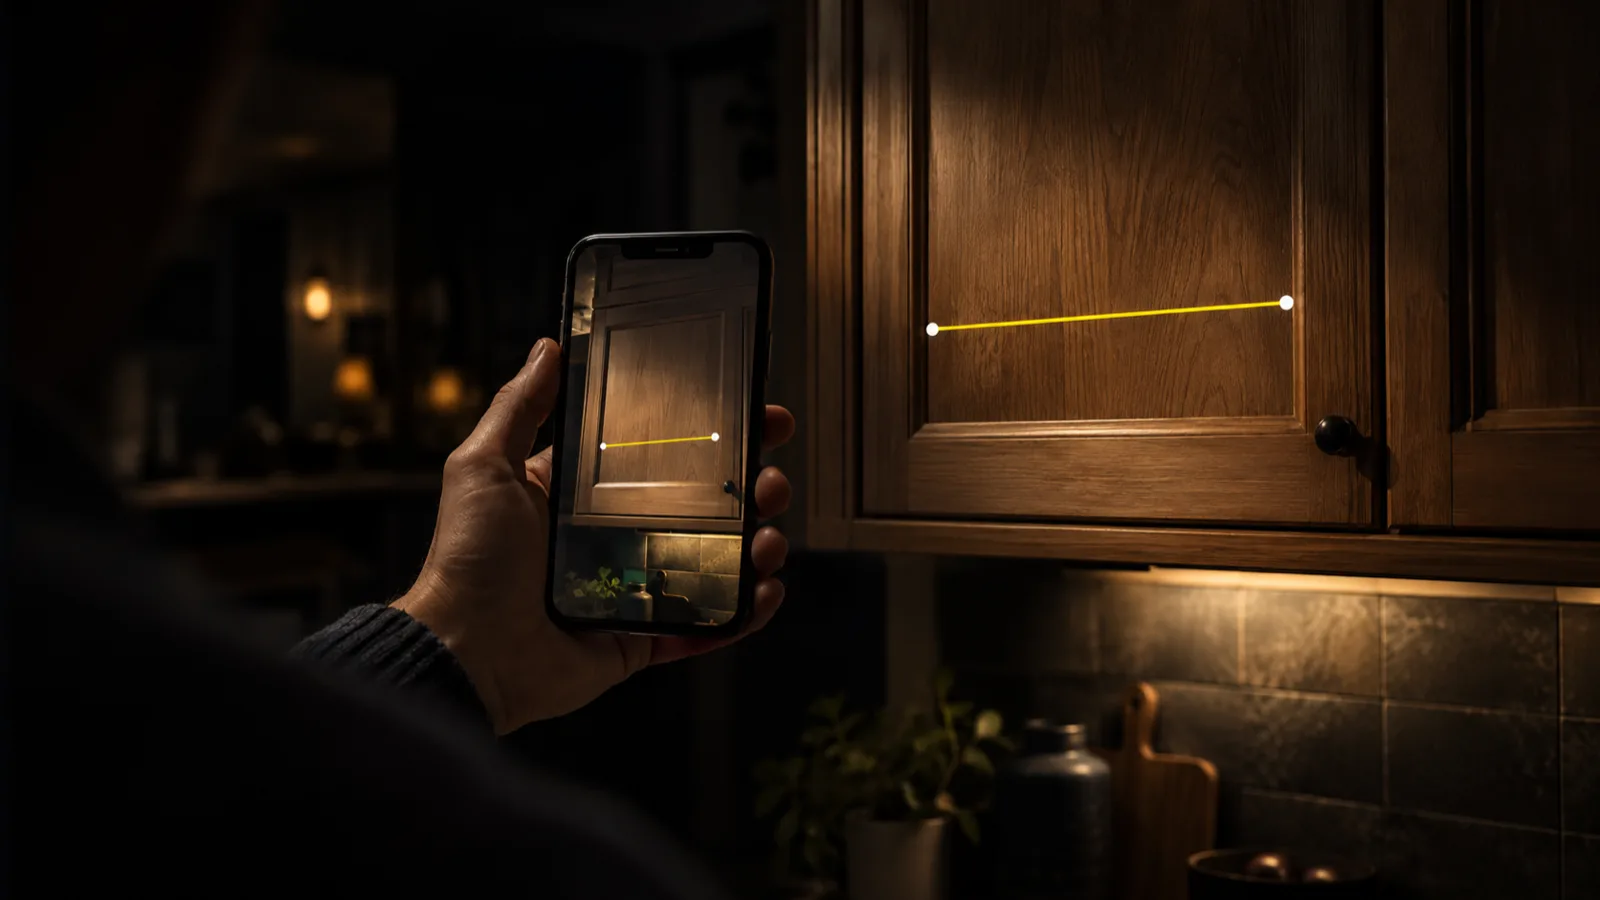
To use the Measure app on iPhone, open Measure from the Utilities folder, move the phone slowly so it can map the room, then line up the dot in the center of the screen with your starting point and tap the + button. Move to the end point and tap + again to see the length. Apple says measurements are approximate and work best on well-defined objects 2 to 10 feet (0.5 to 3 m) from the phone.
Before you start
Measure is built into iOS. If it’s not on your Home Screen, look in the Utilities folder or search for it. When the app opens, the camera turns on and a green dot appears at the top of the screen to show the camera is in use.
Give the app a few seconds to recognize the surfaces around you. Pan the phone slowly across the area you want to measure. Quick movements and blank, featureless walls make it harder for the app to lock on.
Measure a distance
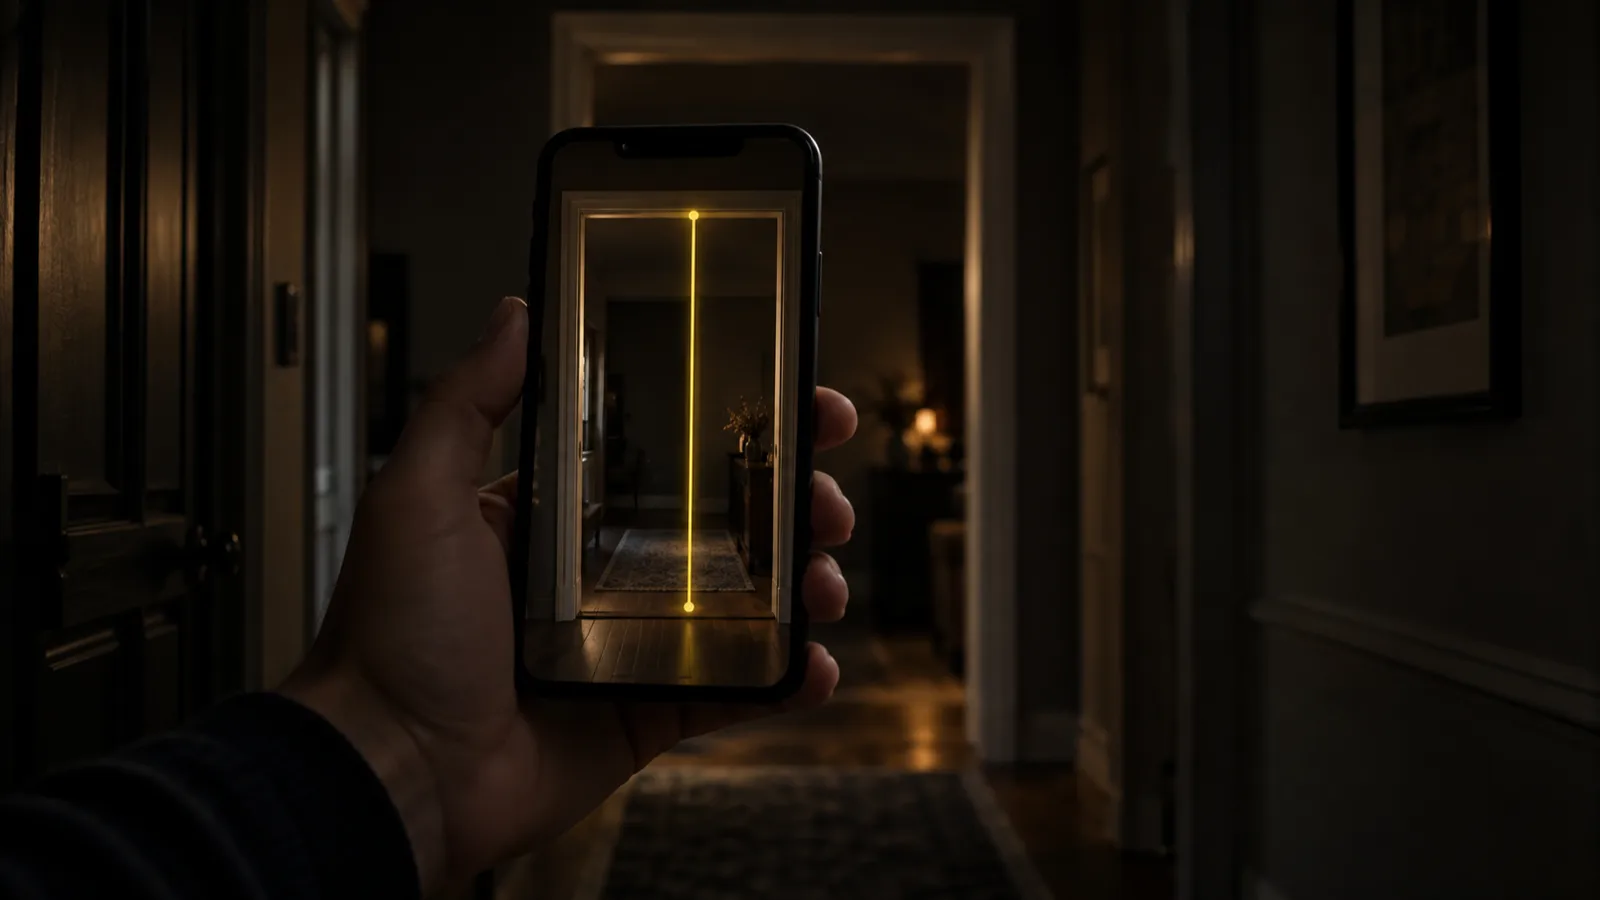
- Point the camera so the dot in the center of the screen sits on the point where you want to start.
- Tap the + button.
- Slowly move the phone until the dot reaches the end point.
- Tap + again. The length appears on the line.
- To keep a record, tap the shutter button to take a photo of the measurement.
Tap Clear to start over, or add another measurement. If you need a refresher on reading lengths in feet, inches and fractions, see how to read a tape measure.
Measure a rectangle automatically
Point the camera at a rectangular object such as a picture frame, a box, a door or a sign. When Measure detects the edges, a white box frames the object. Tap the box or the + button and the app shows its width and height, along with the area. Take a photo of it with the shutter button if you want to keep it.
Rectangle detection works best on objects with clear, contrasting edges.
Features on iPhone models with LiDAR
Some Measure features only work on iPhone models that have a LiDAR Scanner. Apple lists these as the Pro and Pro Max models from iPhone 12 Pro onward. Other models, including the standard, Plus, mini, e, SE and Air models, don’t have one.
| Feature | What it does | LiDAR required |
|---|---|---|
| Distance between two points | Manual measurement with the + button | No |
| Automatic rectangles | Detects a rectangle and shows its dimensions | No |
| Level | Bubble level and angle readout | No |
| Edge guides | Guide lines snap to straight edges of furniture and countertops | Yes |
| Ruler view | Turns a measurement line into a ruler with unit marks | Yes |
| Person’s height | Measures a person automatically | Yes |
| Measurement history | Lists the measurements from your session | Yes |
Edge guides
Move the center dot along a straight edge, such as the top of a table. A guide line appears. Tap + where you want to begin, pan along the line, and tap + at the end.
Ruler view
After measuring between two points, move the phone closer to the line. It changes into a ruler with marks for each unit, which makes it easier to read where a length falls.
Measure a person’s height
Hold the phone so the whole person, head to toe, is on the screen. After a moment, a line appears at the top of their head, hair or hat, with the height just below it. It also works on someone who is sitting. Tap the shutter button to take a photo, then save it to Photos or Files. To measure again, point the phone away for a moment and back.
For a clean reading, use good light, keep dark or reflective surfaces out of the background, make sure nothing covers the person’s head, and stand far enough back to see them head to toe. If no height appears, step back.
Measurement history
Tap the History button to see the measurements from your session, with screenshots. Tap Copy, then paste the list into Notes or another app to keep it. Height measurements don’t appear in this list, so save those as photos.
Use the iPhone level
The level is in the Measure app. Open Measure and tap Level.
- Level an object: hold the edge of the iPhone against the object, such as a picture frame, and adjust the object until the screen turns green.
- Match a slope: hold the phone against the first object and tap the screen to capture its angle. Then hold it against a second object and adjust until the screen turns green. Tap again to reset.
The screen also shows how many degrees the phone is off level. Take the phone out of a bulky or uneven case first, since the case changes the angle the phone sits at.
The Camera app has a separate level for straightening photos. You turn it on in Settings under Camera. It helps you frame shots and isn’t meant for checking a shelf.
Change between inches and centimeters
Measure shows results in imperial (feet and inches) or metric (meters and centimeters). To switch, open the Settings app and find Measure, then choose Imperial or Metric. On iOS 18 and later, most app settings are grouped under Settings > Apps, so look for Measure there if it isn’t in the main list.
How accurate is the iPhone Measure app?
Apple doesn’t publish an accuracy figure for Measure. Its user guide calls the measurements approximate and recommends objects 2 to 10 feet (0.5 to 3 m) away. In practice, results are usually close enough for planning, such as checking whether a dresser fits a wall, and not precise enough for cutting material.
What affects accuracy:
- Distance. Error grows as the object gets farther away and as the measured line gets longer.
- LiDAR. Models with a LiDAR Scanner sense depth directly, so points tend to stay put and edges snap more reliably. Models without it estimate depth from the camera image alone.
- Light and surfaces. Good light and textured surfaces help. Glass, mirrors, glossy surfaces, plain white walls and dark rooms make tracking less stable.
- Movement. Moving the phone quickly, or walking a long way between points, lets small tracking errors add up.
Tips for better results:
- Scan the area slowly for a few seconds before you place the first point.
- Stand within 2 to 10 feet and keep the phone roughly parallel to the surface.
- Move a little closer to each point before you tap it, so the dot lands exactly where you want.
- Measure the same thing twice. If the readings differ by more than you can accept, use a tape.
- Confirm anything you’ll cut, order or install with a real tape measure.
When a third-party app adds something
Apple’s Measure is free, built in and handles quick lengths, rectangles and leveling well. A dedicated app can make sense when you need something Measure doesn’t cover.
- Irregular areas. Apple’s guide describes area only for rectangles it detects. For an L-shaped room or an angled floor, the Area tool in Measuring Tape lets you tap each corner of any shape, labels every side, and totals the area, with a report you can share or copy. See the room measurement app, or work it out by hand with how to measure square feet.
- Units. Measuring Tape lets you choose metric, inches or feet as the display unit.
- Level next to the AR tools. Its level is free, has a large readout and follows how you hold the phone, switching between vertical, horizontal and flat-on-a-surface modes.
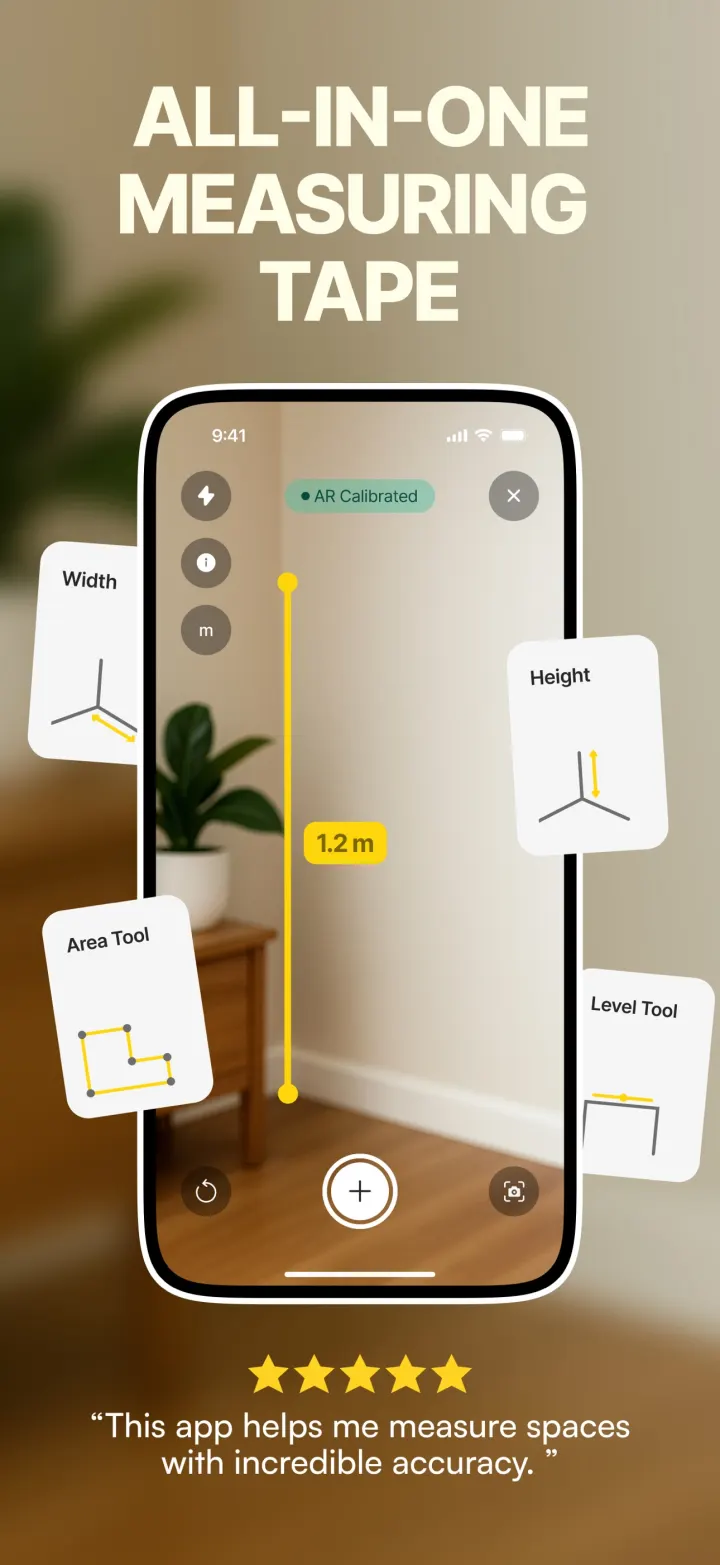
Its height and area tools are Premium features, and its AR readings have the same limits as any AR measurement: close, not exact, and best confirmed with a tape before you cut.
Sources
- Measure dimensions with iPhone, Apple Support: measurements are approximate and work best on objects 0.5 to 3 m (2 to 10 ft) away; covers automatic rectangles, manual points, and edge guides and Ruler view on supported models.
- View and save measurements on iPhone, Apple Support: on supported models the session history can be copied into another app, and height measurements are not included.
- Measure a person’s height with iPhone, Apple Support: on supported models the app measures to the top of the head, hair or hat, also works seated, and saves the photo to Photos or Files.
- Use iPhone as a level, Apple Support: tap Level in Measure, rotate until the screen turns green, and tap the screen to capture and match a slope.